
How to Replace a Door Threshold – Interior & Exterior
Knowing how to replace a door threshold can help you save time and money when it comes to home renovation projects. Having the skill to professionally replace and change a door threshold can also help you keep energy costs low, as they help to keep warm air in and cold air out during the colder and warmer months.
Door thresholds also need to be installed the right way in order to cope with the heavy foot traffic that will inevitably pass through the door and into your home or commercial space.
Below, you will find our guide on how to fit and replace both outdoor and interior door thresholds.
What is An Interior Door Threshold?
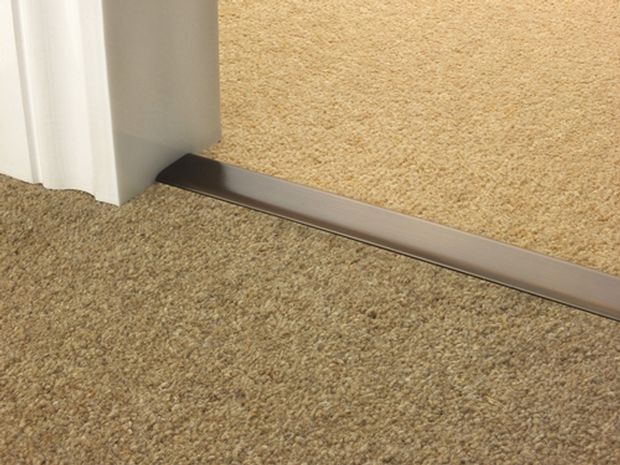
Replacing an interior door threshold is usually easier than replacing an exterior threshold. Also known as transition strips or door bars, door thresholds are protective strips that cover floorboard edges that end at a door. They’re used for both aesthetics and durability purposes and come in a variety of styles and materials to suit the requirements of the property.
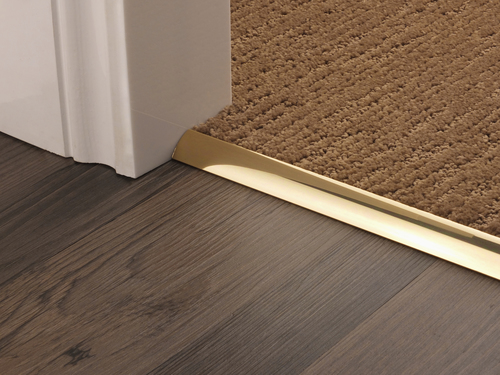
Most interior thresholds are made from wood or aluminium as they’re versatile and cost-effective. Other materials include plastic, marble or even solid surface options.
How Difficult is it to Replace a Door Threshold?
While it may seem like a fairly labour-intensive job, replacing a door threshold can be completed by the average DIYer between 2 – 5 hours depending on experience and available materials.
How to Replace an Interior Threshold
First things first, you will need to remove the old interior threshold. Most interior thresholds can be removed using a hammer and pry bar, targeting the nails. Once you have removed the nails from the threshold, use a hammer to pry the threshold out from under the door stops.
In the event that the door jambs (these are the vertical components on each side of the door) are undercut, cut the threshold into two pieces and remove them separately.
Preparing the New Interior Threshold
The next step is to measure your doorway for your new threshold; measure between the outer edges and the door casing. In essence, your new door threshold should have similar, if not the same dimensions as your old threshold. We’d advise you to make the threshold a bit longer than the width of the doorway so you have some leeway when cutting to shape (about 2 – 3 inches over should do).
Mark the new threshold based on the new measurements and use a carpenter’s square to mark right angles for notches (the notches will need to be marked on each side to fit around the jambs).
Using a jigsaw, cut in the new threshold and adjust the cuts with a handsaw if required.
Securing the New Interior Threshold
How you secure your door threshold will depend on the type of door threshold you have. To install wood or aluminium thresholds onto carpeted or wooden floors, you will need to:
- Make some pilot holes in the threshold
- Place the threshold under the doorstops and use a rubber mallet to hit and position it into place
- Next, hammer the threshold into the floor using flooring nails
- If you are unable to do this, countersink the threshold and tighten it with countersunk wood screws.
If you’re replacing the door threshold with new marble, tile or solid-surface alternative, you will need to secure the threshold using an adhesive to form a strong bond (make sure the adhesive is appropriate for threshold use). If you’re using contact cement, be sure to position it right the first time, as once it bonds, it won’t move. Other adhesives will allow some give once applied.
If you’re yet to buy aluminium, wood or laminate door thresholds, why not take a look at our stock.
Remove the Old Exterior Threshold
Removing and installing exterior door thresholds or front door thresholds follows a similar approach. To begin, cut back the old exterior door threshold using a reciprocating saw. If your threshold is metal, use a metal-cutting saw to make small incisions into the threshold without sawing into your floorboards.
When cut, carefully pry and dislodge the threshold pieces using a pry bar. If any caulk is present, remove it and then clean the area of any debris and remaining caulk.
Preparing the New Exterior Threshold
To prepare your new exterior door threshold, start by measuring the doorway where the threshold is being installed (measure between the outside edges of the door casing) and then follow the same steps as seen in the interior threshold instructions above.
Securing the Exterior Threshold
First, test how well the threshold fits – it should feel secure and not budge once set. When closing the door, it should close comfortably, if it doesn’t, you can plane the bottom of the door until it’s the right height.
Then, lay a line of caulk along the back of the threshold and slide the threshold underneath the door stops, positioning the notches you cut around the jambs. Gently shift and tap it into position using a mallet. Be sure that when installing the threshold, there’s a slight slope that points away from your house to allow rainwater to drain away from your door.
If your exterior threshold requires screws, insert them into pre-made holes along the length of the threshold and use a power drill to screw the threshold into position. If it doesn’t require screws, use an appropriate adhesive (like construction adhesive) to fix the exterior threshold onto the floor.
Finish with lining caulk between the threshold and each doorstop.
Buy Your Exterior or Interior Door Thresholds Today
Now that you know how to professionally fit and replace interior and exterior door thresholds, the next step is buying. We stock a wide variety of interior and exterior door thresholds in different styles and sizes to suit any doorway. Take a look at our door thresholds today and choose a design that complements the style and decor of your home.
You will also receive free UK delivery when you spend over £75.