
A Complete Guide to Varnishing Stairs
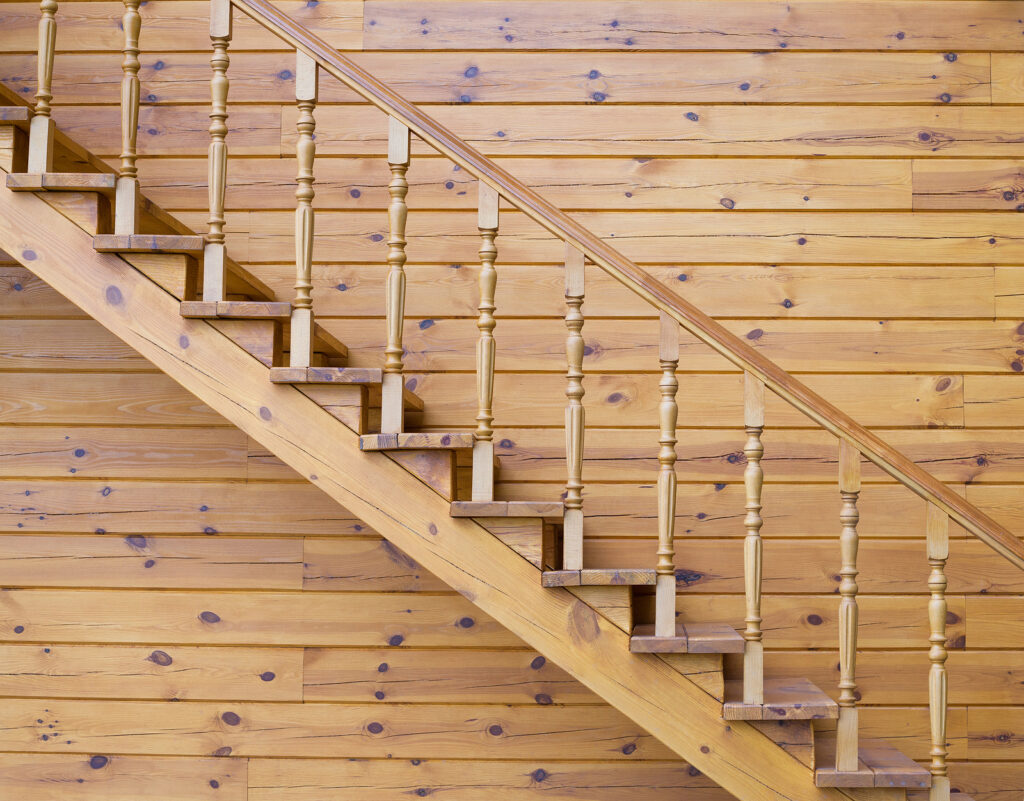
Stairs are one of the most frequently used parts of our home, meaning that they are often subject to high foot traffic and wear and tear. It typically takes just a few years before interior wooden staircases begin to look a little worn.
To keep your stairs looking new and fresh, it is important to stay on top of varnishing. Varnishing your stairs allows you to enhance the natural beauty of wood but also protects them from further damage caused by everyday use.
How to Varnish Wood Stairs
Before you begin varnishing your stairs, you will need to check that the wood is suitable for staining. Most worn wood can be found on the horizontal treads and vertical risers of your stairs as these are the parts subject to the most foot traffic.
You will need the following tools and materials to varnish your stairs:
- Sandpaper
- Varnish
- Paintbrush
- Lint-free cloth
- Paint roller
- Painter’s tape
1. Sand the Stairs
Start by sanding down the treads of your stairs to remove any rough spots or imperfections. You can use sandpaper for this purpose, starting with a coarse 80 grit and finishing with a fine grit to get into any tight corners and around balusters.
If you have a power sander, you can also power-sand the larger surfaces of the stairs. Sanding will also help the varnish adhere to the wood better.
2. Clean the Stairs
After sanding, you will need to thoroughly clean your stairs. You can do this by either vacuuming between the passes and wiping down with a tack cloth or just by using a clean cloth to wipe the stairs of any dust and debris.
Repeat the cleaning and sanding steps until you’ve reached the bare wood and be careful not to raise the grain with any wet ras. Before moving to the next step, make sure that your stairs are completely dry.
3. Apply Painter’s Tape
Use the painter’s tape to protect any areas that you do not wish to varnish, such as skirting boards or walls. This step is also optional for those looking to create a particular design or only varnish parts of their stairs.
4. Apply the First Coat of Varnish
Using a paintbrush, lint-free cloth or a roller, whichever is more suitable to your size of stairs, apply the first coat of your chosen varnish to your stairs. Apply the varnish evenly, making sure to cover all areas of the stairs and allow the stain to completely dry before moving on to the next step.
5. Sand and Varnish Again
Repeat the sanding step once the stairs have dried with fine-grit sandpaper to smooth out any imperfections and give the stairs a smooth and even finish.
Once smooth, apply the second coat of varnish to your stairs using the same technique as the first coat. Once again, make sure to evenly apply the varnish and cover all areas of the stairs and wait for the stain to dry before moving on.
6. Apply the Finish
After you have applied your final coat of varnish and let it dry, you will need to apply your choice of finish. Most finishes are polyurethane-based or water-based polyurethane which takes several hours to dry.
Using a good quality paintbrush, start in one corner of the stairs and work across the tread, with the grain applying your chosen finish. Apply the polyurethane slowly and evenly so as to avoid air bubbles and allow the finish to dry.
7. Sand and Repeat
Once your finishing coat is dry, you may wish to sand it lightly with a fine-grit sandpaper. Once sandpapered, you will want to wipe down the debris with a tack cloth and repeat until you have 2-3 coats total or however many coats achieves your desired finish.
Do not sand after your final coat.
How to Remove Varnish From Stairs
Removing varnishing from stairs is necessary for the process of re-varnishing or for when you want to prepare them for a new finish.
The best way to successfully remove varnish from wood stairs is to start with a paint scraper and manually remove as much as you can along the grain of the wood. You can also sand the stairs using coarse-grit sandpaper to remove the existing varnish and smooth out the surface.
Chemical strippers are available in most DIY and hardware stores and are a great way to remove varnish. You can apply a chemical stripper with a paintbrush and wait for it to work and then chip away at any raised varnish with a paint scraper. While removing varnish from wood stairs, it is important to ensure that you do not gouge or damage the finish of the stairs with your paint scraper or coarse sandpaper.
Once the majority of the varnish is removed, you can then go in with a clean lint-free cloth and mineral spirits to clean the stairs and remove any varnish or chemical stripper residue. Using fine-grit sandpaper, smooth out any rough spots and prepare the surface for a new finish.
Finishing Your Varnished Wood Stairs
Varnishing your wood stairs is a great way to enhance the natural wood features and protect them from daily wear and tear. With the correct tools and materials, and by following the appropriate steps, your wood stairs can be renewed by varnishing.
If you are looking for additional finishes for your newly varnished stairs, we have a selection of stair runners, carpet studs and skiffers to complete your landing or hallway.